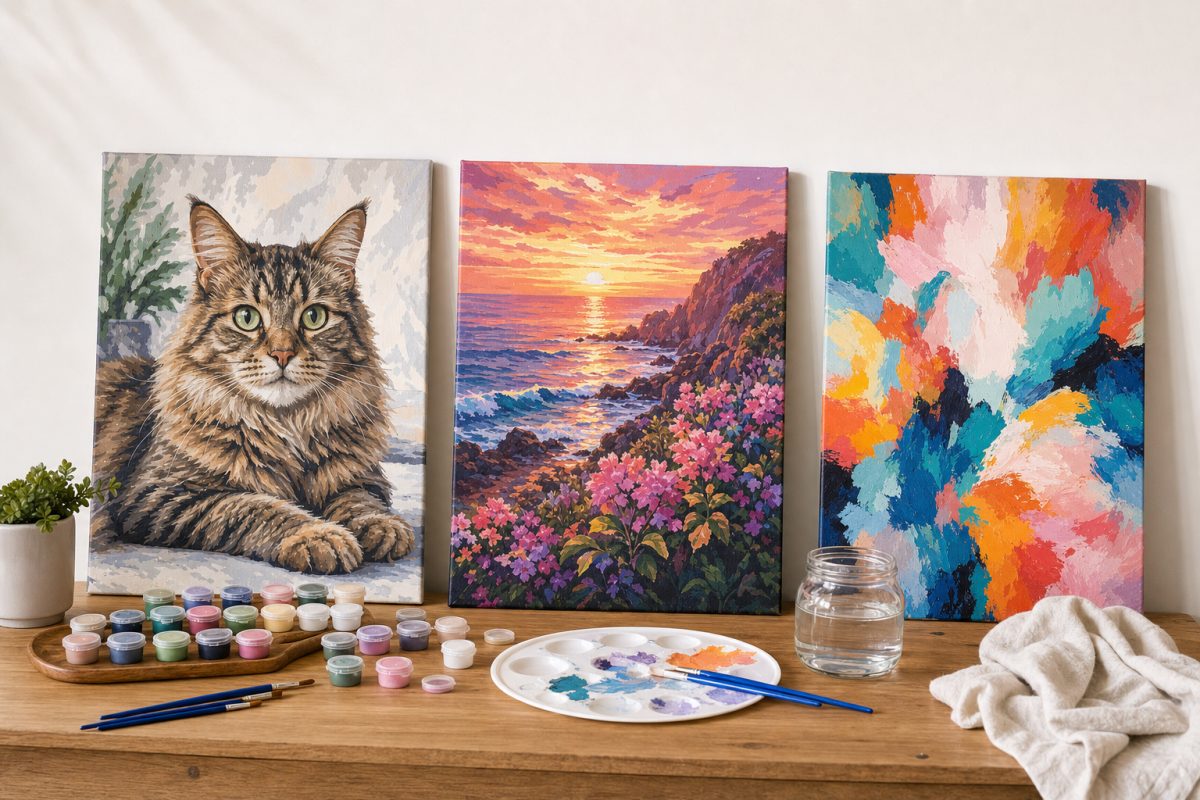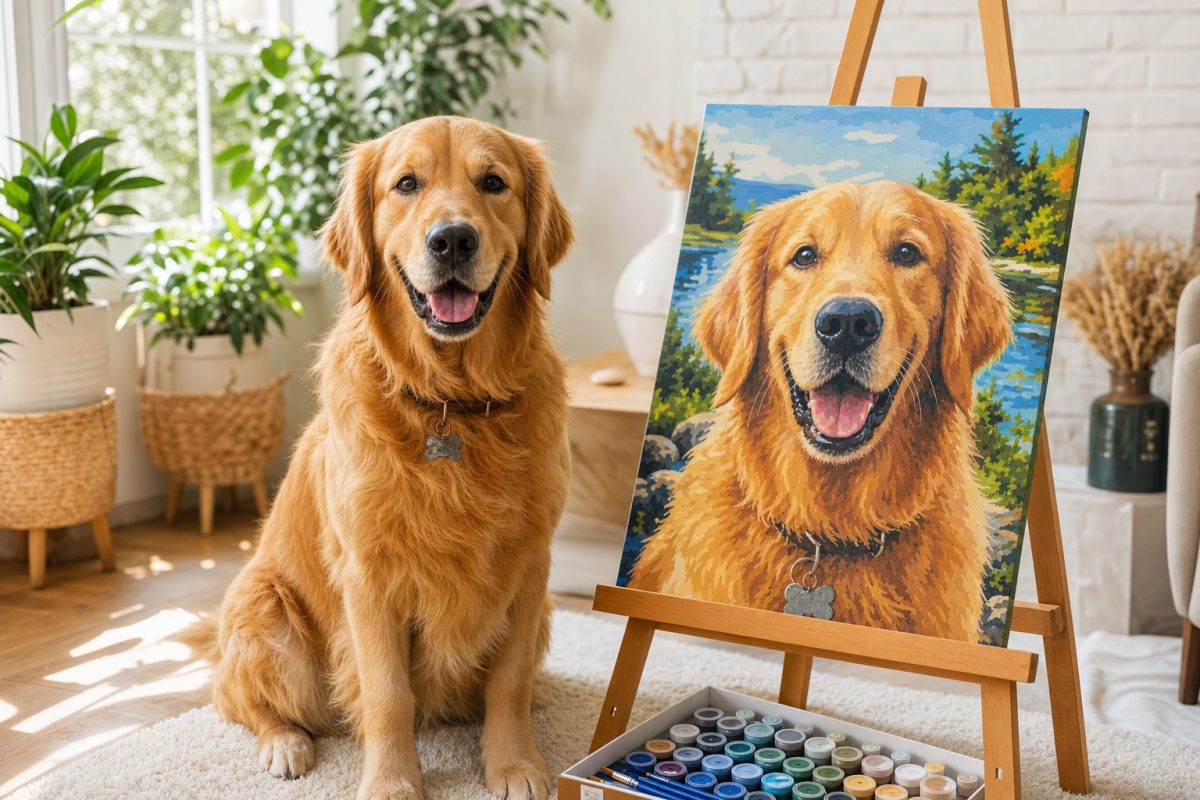
You did it. The last section is painted. The last brush has been rinsed. You are looking at a finished painting that you made with your own hands, and it looks surprisingly good. Maybe shockingly good. The colors are true, the image is clear, and somewhere inside you there is a small but undeniable voice saying: "I cannot believe I made this."
Now what?
The painting deserves to be displayed properly. Not leaned against a wall in the spare room. Not tucked into a closet. Hung, lit, and shown off like the artwork it is. Because it is artwork. You made it. And how you frame and display it will determine whether visitors say "oh, that is cute" or "wait... you PAINTED that?"
Here is everything you need to know.
Option 1: You Bought the Framed Version (Easiest)
If you ordered your kit with a frame, you are already most of the way there. The canvas is pre-mounted on a wooden stretcher frame, and all you need to do is hang it.
Before hanging, let the painting dry completely. Acrylics dry to the touch within an hour, but full curing takes 24 to 48 hours. Give it at least a day before handling the surface.
To hang: use a simple picture hanging nail or a Command strip rated for the weight (a 40x50cm canvas is light, about 500g to 1kg). Mark your spot on the wall at eye level (the center of the painting should be roughly 57 inches from the floor, which is standard gallery height), hammer or stick your hanger, and hang.
That is it. You are done. Your painting is on the wall looking like professional art.
Option 2: You Have an Unframed Canvas
An unframed canvas is just the printed cloth with paint on it. It needs to be mounted on something rigid to display properly. You have several options, ranked by effort and result.
Stretcher bars (the professional look)
This is how real canvas art is displayed. You buy wooden stretcher bars (available at any craft store or online) in the size matching your canvas, assemble them into a frame, stretch your canvas tightly over it, and staple the edges to the back. The result is a gallery-wrapped canvas that hangs cleanly without a visible frame.
This takes about 20 minutes and a staple gun. YouTube has hundreds of tutorials for "how to stretch a canvas." The investment is about $10 to $20 for the stretcher bars and staples.
Foam board mounting (the quick option)
Buy a piece of foam board or foam core from a craft store. Cut it to match your canvas size. Use spray adhesive to mount the canvas flat onto the foam board. Trim any excess. You now have a rigid, flat painting that can lean on a shelf or be hung with Command strips.
This is the fastest option and works well for smaller canvases. The result does not have the depth of a stretched canvas but looks clean and presentable.
Custom framing (the premium option)
Take your finished canvas to a frame shop and let them handle everything: mounting, matting, glass, and frame selection. This produces the most polished result but costs $40 to $100+ depending on frame choice and shop pricing.
If you go this route, a simple, thin black or natural wood frame works best. Paint by numbers canvases have a lot of color already. A busy or ornate frame competes with the painting. Let the artwork do the talking.
Applying a Protective Finish
Acrylic paint is durable on its own, but a protective varnish coat adds longevity and gives the painting a professional look. You have two choices:
Matte varnish: Eliminates any glossy spots from thicker paint application and gives the painting a soft, even finish. This is the closest to how the painting looks when the paint is freshly dry. It reduces glare from lighting, making the painting easier to photograph and easier to view in bright rooms.
Gloss varnish: Makes the colors more vivid and adds a wet, luminous quality. The painting looks richer and more saturated under a gloss coat. The tradeoff is that it can create glare from direct lighting or windows.
Application is straightforward: use a wide, soft brush and apply thin, even strokes in one direction. Let the first coat dry completely (2 to 4 hours), then apply a second coat perpendicular to the first. Spray varnish is even easier: hold the can 12 inches from the surface and spray in smooth, even passes.
Varnish is optional. Your painting will last years without it. But it adds a finished quality that makes the work look intentional and permanent.
Where to Hang It
Placement matters more than most people think. A great painting in the wrong spot gets overlooked. The same painting in the right spot becomes the focal point of the room.
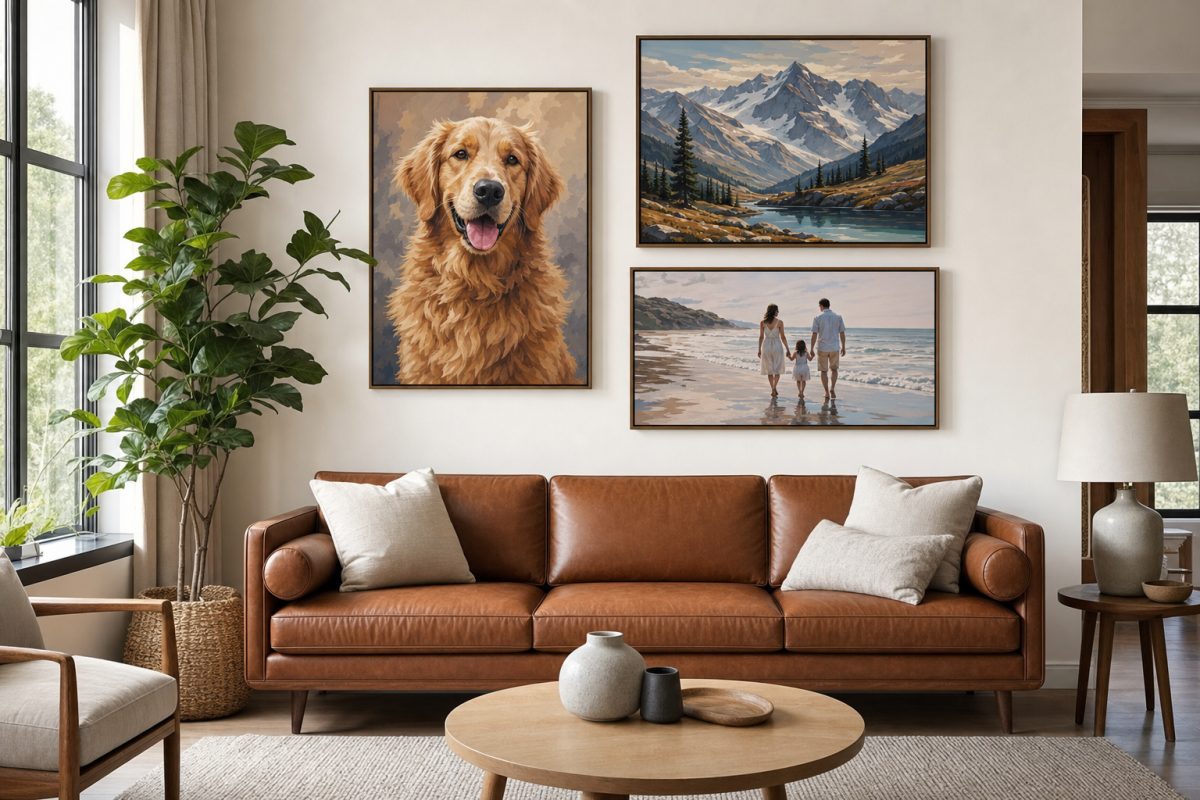
Living room, above the sofa. The classic gallery wall position. Center the painting (or a group of paintings) above the sofa, leaving 6 to 8 inches between the top of the sofa back and the bottom of the frame. This is the most-seen wall in most homes, and your painting deserves the spotlight.
Hallway or staircase. Gallery walls along a hallway turn a pass-through space into a conversation. If you have done multiple kits, a row of your paintings creates a personal gallery that tells your story. Visitors stop and look. They always stop and look.
Home office. A painting you made with your own hands, visible during your workday, is a daily reminder that you are capable of creating beautiful things. That sounds cheesy until you experience it.
Bedroom. Pet portraits and personal photos work beautifully in bedrooms. They are intimate and personal, which matches the room's purpose. The painting of your dog will be the last thing you see before sleep and the first thing you see waking up. And that is kind of wonderful.
Lighting Your Painting
Gallery-quality display includes lighting. A simple picture light (a small lamp that clips above the frame and angles down onto the painting) transforms the presentation. The painting goes from "something on the wall" to "a featured piece of art."
LED picture lights are affordable ($15 to $40), battery-powered (no wiring needed), and available in warm tones that make acrylic colors glow. They are the single cheapest upgrade that makes the biggest visual impact.
If you do not want a dedicated picture light, position the painting where it catches natural light during the day. Avoid direct sunlight, which can cause colors to fade over years (though modern acrylics are quite UV-resistant). Indirect natural light or warm room lighting is ideal.
Creating a Gallery Wall
If you have completed multiple kits (and you will, they are addictive), a gallery wall is the ultimate display. Here is how to plan one.
Start with a layout on the floor. Arrange your paintings plus any other art, photos, or prints you want to include. Play with combinations. A mix of sizes adds visual interest. Consistent spacing (2 to 3 inches between pieces) creates cohesion.
Common gallery wall arrangements:
Grid: All pieces the same size, arranged in a perfect grid. Clean, modern, symmetrical. Works if all your canvases are the same size.
Salon style: Mixed sizes arranged organically around a central piece. More dynamic, more personal. This is the classic "collected over time" look that high-end homes use.
Horizontal line: Different-sized pieces aligned along their center horizontal axis. A clean, contemporary look that works well in hallways and above furniture.
Once you have the layout, trace each painting on kraft paper or newspaper, cut the shapes out, and tape them to the wall with painter's tape. Adjust until it looks right. Then hang the actual paintings in place of the paper templates. This prevents unnecessary nail holes from guessing.
Your Painting Deserves This
You spent 10, 15, maybe 20 hours on this canvas. You poured attention and time into something that did not exist before you started. The least it deserves is a proper place on the wall, where you can see it every day and visitors can ask the question you secretly want them to ask: "Did you paint that?"
Yes. You did. And it looks amazing up there.