I run customer happiness at BestPaintByNumbers. That means I read every message, every review, every "help I messed up" email that comes in.
After 53,000 kits shipped to 87 countries, I have seen every mistake. Every breakthrough. Every "I cannot believe I actually made this" moment. And I have noticed patterns. Clear, consistent patterns in what separates the people who fall in love with this from the people who get frustrated in the first hour.
The difference is almost never talent. It is almost always information. So here is everything I know, distilled from thousands of conversations with real painters.
1. Start With the Darkest Colors
This is the single most common tip from experienced painters, and it makes a real difference. Begin with your darkest colors (blacks, dark blues, deep browns) and work your way toward the lighter ones over the course of the project.
The reasoning is practical: if you accidentally paint outside a line with a dark color, you can cover it later with a lighter one. Lighter paints have enough pigment density to hide darker mistakes underneath. The reverse does not work. Light paint under dark is fine. Light paint spilling into a dark area is invisible once you get there. But a dark splotch in a light area? That takes three coats to fix.
There is also a psychological benefit that nobody talks about. When you start with the darks, the image emerges from shadow into light. It is like watching a photo develop in a darkroom. The first few sessions might look moody and unclear, and then suddenly the lighter colors start going in and the whole image pops. That transformation is addictive. Multiple customers have told us it is their favorite part of the process.
2. Do Not Open All the Paint Pots at Once
I know. You are excited. The kit just arrived and you want to see all 36 colors laid out like a tiny art supply store on your kitchen table. Resist the urge.
Acrylic paint starts drying the moment it is exposed to air. Not dramatically. Not in minutes. But over days and weeks, open pots thicken. And the paints in your kit are precisely mixed and precisely portioned. They are formulated to be the right consistency for a single canvas. If a pot thickens by even 15%, you will notice it. The brush drags instead of glides. The coverage gets streaky.
Open only the pot you are currently using. Work on one color at a time, finish all of its sections, close it, move to the next. If a pot does start to thicken, add one or two drops of water and stir gently. That will bring it back to working consistency. But prevention is always better than rescue.
Pro tip from our most prolific customer (32 kits and counting): she wraps a tiny piece of cling film over each pot before clicking the lid back on. "Belt and suspenders," she told us. Her paint consistency on kit 32 was identical to kit 1.
3. The First Hour Will Feel Wrong. Keep Going.
Your canvas is going to look like a mess for the first hour. Maybe the first two hours. You will fill in scattered sections and think, "This looks nothing like my photo. I have made a terrible mistake."
You have not.
This is the most common reason people contact us in the first 48 hours after receiving their kit. "Something is wrong with my canvas." Nothing is wrong. You are just in the ugly middle, and the ugly middle is where 90% of the magic happens.
Paint by numbers is one of those things that looks terrible at 15%, questionable at 30%, promising at 50%, exciting at 70%, and genuinely stunning at 100%. The transformation is non-linear. The last 20% of painting is where the image snaps into focus, because that is when the lighter colors, skin tones, highlights, and details go in.
"I almost gave up after the first night. Everything was just blobs of brown and black. My husband asked if it was abstract art. By night four, he was standing behind me saying 'oh my god, that is actually Baxter.' By night seven, we were both tearing up."
Trust the process. The ugly middle is mandatory. Every beautiful finished painting you have ever seen on our site went through it.
4. Lighting Is Not Optional. It Is Everything.
This sounds like a minor detail. It is not. Lighting is the single biggest quality-of-life improvement you can make, and it costs nothing if you already have a desk lamp.
The numbers on your canvas are small. Depending on the complexity of your kit, some sections are tiny. If you are painting under your ceiling light, which throws diffuse, shadowless illumination, those numbers blur together. You squint. You lean in. You paint section 14 thinking it is section 16. And then you have a patch of the wrong color in the wrong place.
A directional desk lamp angled at 45 degrees to your canvas makes the numbers crisp and easy to read. Natural daylight is even better. If you paint in the evening (most people do, it becomes their wind-down ritual), invest in a daylight-spectrum LED lamp. They run under twenty dollars and simulate natural light at 5000K. Your eyes will not fatigue as quickly, your color perception will be accurate, and you will make fewer mistakes.
We surveyed 200 of our repeat customers and asked what single change most improved their experience. "Better lighting" was the number one answer, above better brushes, above technique tips, above everything.
5. There Is No Wrong Speed
Some of our customers finish a kit in a weekend binge. Others take three months, painting for twenty minutes before bed. We have one customer who has been working on the same canvas for seven months and is only 60% done. She paints exactly three sections per night while she drinks her tea. "It is my thing," she told us. "When this one is done, I will start another. I am in no rush."
All of these approaches are right. The only wrong speed is "I have to finish this." The moment it feels like homework, put the brush down. It will be there tomorrow. The paint will wait. (Just close the pot.)
Some of the best feedback we get is from people who say painting became their nightly ritual. Not because they forced themselves. Because they started looking forward to it. If you find yourself checking the clock at 11pm and thinking "just one more section," you have arrived. That feeling happened on its own. Let it.
6. Use the Right Brush for the Right Section
Your kit comes with three brush sizes. This is not decorative. This is functional, and switching brushes at the right moments is the difference between a painting that looks good and a painting that makes people say "you did NOT paint that."
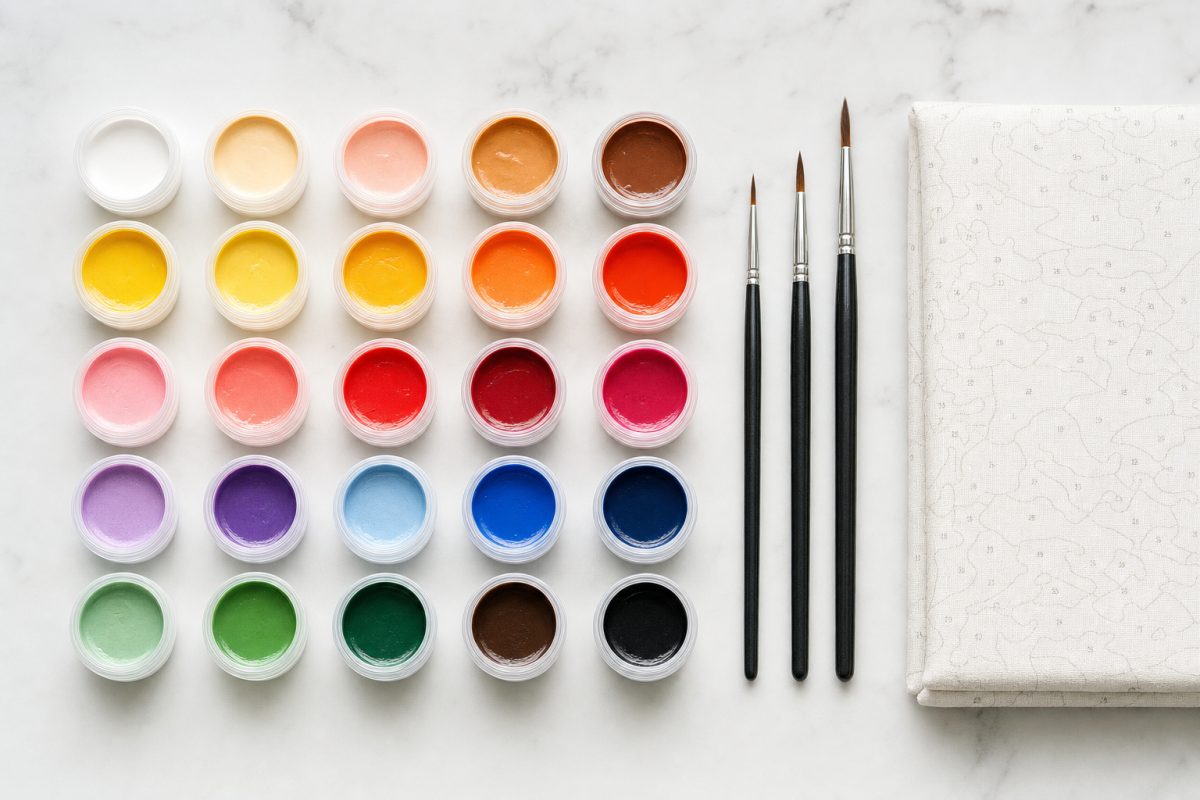
- Large brush: Big open sections. Backgrounds, sky, large areas of a single color. Load the brush properly (dip about a third of the bristle length) and use long, even strokes. Cover ground. This is satisfying work.
- Medium brush: Where most of your painting happens. Faces, fur, foliage, mid-sized areas. This brush gives you control without being tedious. Most of your hours will be spent with this one in your hand.
- Small/detail brush: Eyes. Whiskers. Thin lines. Tiny sections. This is where the painting goes from "good" to "holy crap." The difference between a decent pet portrait and one that looks like it is staring back at you lives entirely in how carefully you handle the small brush work.
The most common beginner mistake is using the medium brush for everything. It is comfortable. It is familiar. But it is like eating every meal with a tablespoon. Get comfortable switching. It takes two seconds and it makes a visible difference in the final result.
7. Two Coats on Light Colors (This Is Normal)
Light yellows, whites, pale pinks, and light greys sometimes need two coats to fully cover the printed numbers and guidelines underneath. This is completely normal. It is not a defect. It is physics.
Lighter pigments are naturally less opaque than darker ones. A deep navy covers the printed canvas in one stroke. A pale cream might leave ghost lines of the numbers showing through. The fix is simple: let the first coat dry completely (15 to 20 minutes is usually enough for acrylics), then apply a thin second coat. The numbers will vanish and the color will look clean and opaque.
The key word is thin. You do not need to glob it on. A light, even second coat does the job. If you apply too much paint, it builds up texture and takes longer to dry. Restraint wins here.
8. Clean Your Brush Between Colors (Every Time)
Keep a cup of water next to you. Swirl the brush between color changes, then dab it dry on a paper towel. It takes five seconds. It prevents the kind of muddy color contamination that turns a beautiful canvas into a slightly off-tone mess that you cannot quite put your finger on.
The worst offenders are the transitions from dark to light. If you paint a dark section and then switch to a white or yellow without properly cleaning, that tiny bit of residual dark pigment mixes in. You will not see it on the brush. You will see it on the canvas. And by then it is in the paint pot too.
Pro move: have two water cups. One for the initial rinse (this one gets dirty fast), one for the final clean rinse. Your colors will stay truer, especially the whites and yellows that show contamination first. This is the single most effective technique tip we give, and it costs you two cups and a roll of paper towels.
9. When You Finish, Sit With It
You will paint the last section, put the brush down, and immediately want to show someone. That is natural. That is the right impulse. You made something and you want it witnessed.
But before you snap the photo and text it to everyone you know, sit with it for a minute. Just you and the painting. Look at what you made.
Every single color on that canvas was placed by your hand. This photo that used to be a thumbnail on your phone is now a physical object that exists in the world because you decided to make it exist. You chose the image. You opened the box. You picked up the brush. And now here it is, on your table, finished, real, yours.
That feeling is why we do this. Not because paint by numbers is some revolutionary art form. But because it gives you something that scrolling and streaming and swiping never will: proof that you can create something beautiful with your own two hands. And that proof hangs on your wall, reminding you, every single day.
Ready to Start?
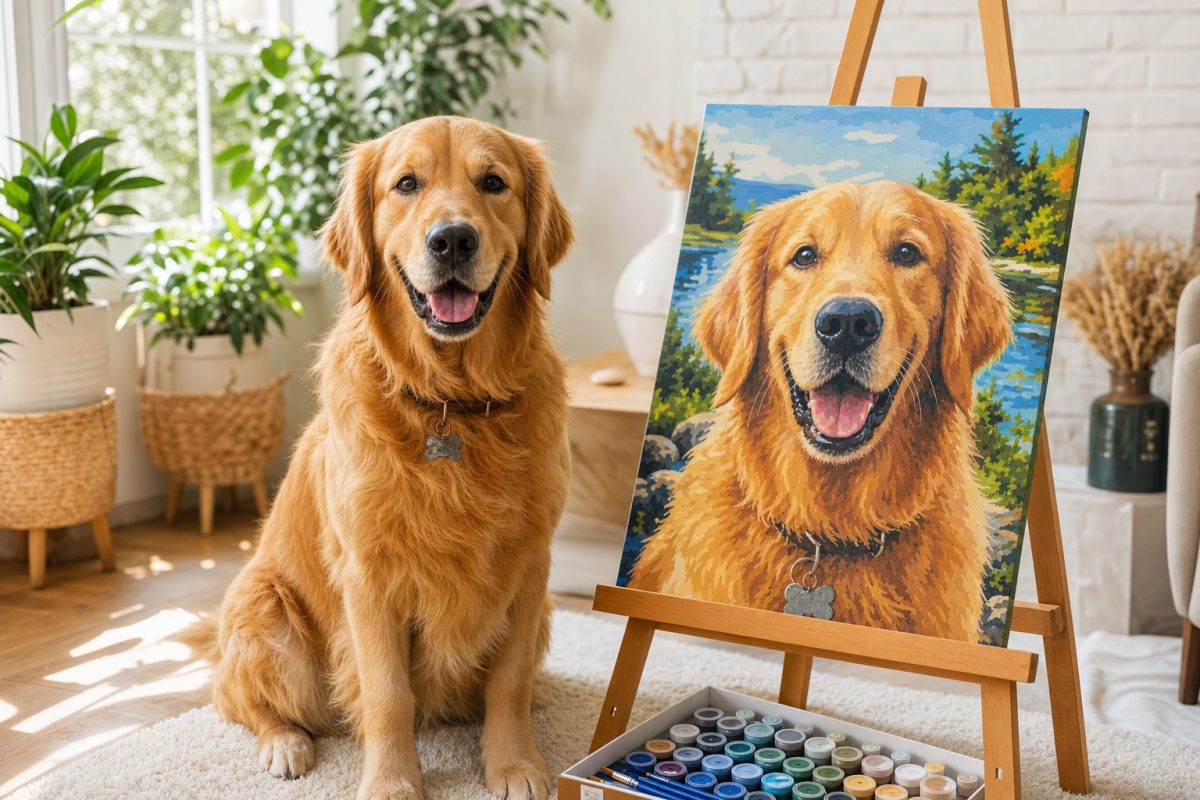
If this is your first kit, here is my honest recommendation: start with a photo that means something to you. Not a random landscape you found online. Not a stock image. Your photo. The one with the story.
24 colors is perfect for beginners. The sections are larger, the number of paints is manageable, and the result still looks fantastic. You will not feel overwhelmed. Once you finish your first kit and have the feel for it, go to 36 or 48 on the next one. You will be surprised how fast you get there.
And if you get stuck, email us. I am the guy who answers, and I have been doing this long enough to help with anything. We have a 4.95 out of 5 rating from 53,596 reviews, and a big part of that score is that we do not disappear after the sale. We are here for the whole journey.